
If you have ever camped with kids before (or even without kids) then you know how much planning and prep work it can take. Packing for a camping trip doesn’t have to be overwhelming or even time consuming. After years of experience of camping with kids, we have simplified the process (and the gear) and made a list of 20 steps to make camping with kids easy and fun. We have also included our top picks for camping gear that is inexpensive, durable, and compact.
*This post contains affiliate links, which means we receive a small compensation if you make a purchase clicking the links.
SO MUCH GEAR.
It can feel daunting getting all that gear ready for a camping trip, whether it is a weekend up in the mountains or a two week camping road trip, it doesn’t matter. They both require the same amount of gear.
You might asking yourself, “Why on Earth would I go camping with kids then?”
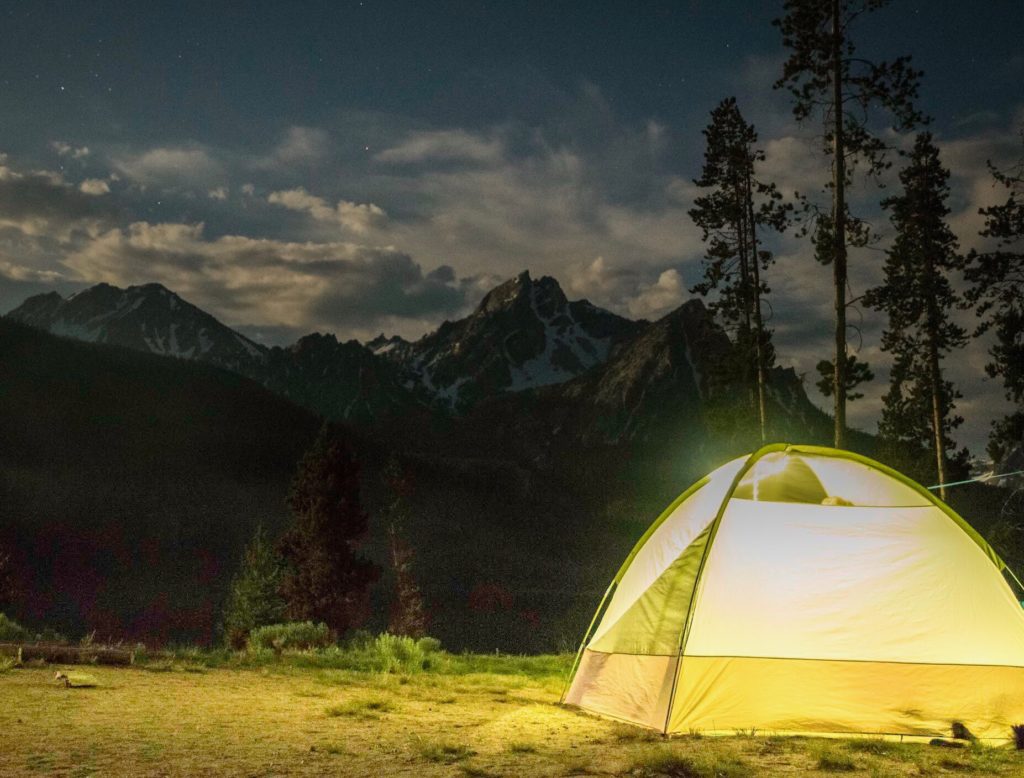
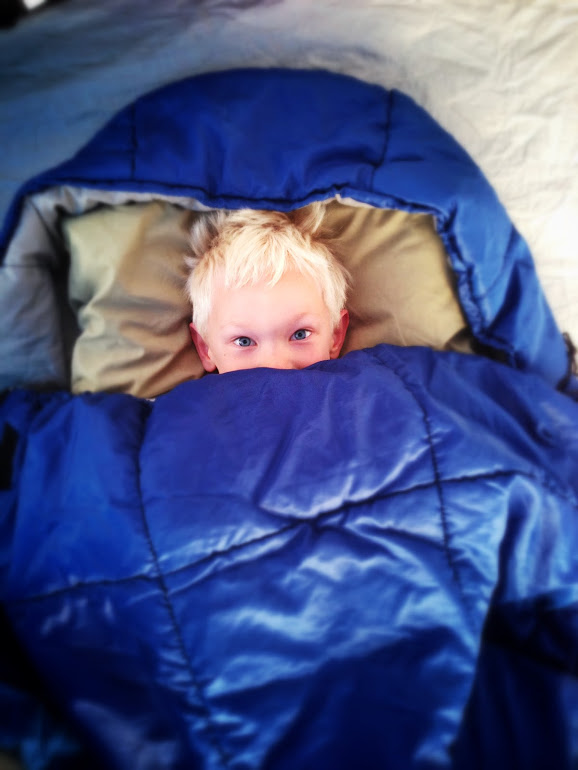
Nothing better than sleeping under the stars!
Because camping as a family is fun. A LOT OF FUN. Some of our most favorite memories together are from camping trips. It’s just us and the great outdoors–no cities, no traffic, no TV or media, no toys, no distractions. And then there is that fresh mountain air. Ahhhhh. And the campfires. Oh, the campfires! Sitting huddled around a campfire, swapping stories, laughing, and roasting marshmallows by the fire are absolutely priceless memories. But our favorite part? Sleeping under the stars, with only the sounds of nature (next to a river is our favorite) to fall asleep and wake up to.
To make it easy, we have figured out a few shortcuts to making all that packing/prep work before a camping trip much easier. The key is to be a little organized and to plan ahead. Here are our tips to include preparation, packing and gear, food (including our go-to, no fail camping meals!), easy DIY ideas and lastly, some fun games and entertainment ideas to do while you’re camping.
Table of Contents:
Prepping for a camping trip
Packing for a camping trip
Food for a camping trip
General camping tips
DIY camping ideas and games
Must-have camping gear
Prepping for a camping trip
1. Get it on the calendar
Because most campgrounds fill up fast, you will need to plan ahead to secure a campsite. A little bit of research can save you the time and stress of showing up without a reservation and then not being able to find a campsite (trust me, we’ve done that!!). Of course, depending on the area you are going, you might not need to secure a campsite ahead of time. If you are more of a back-country camper, then you will want to find out the permit process for that particular trip.
With that being said, we generally like to camp somewhere near a body of water (lake, river) and also have access to a bathroom (if possible), so when we are choosing a campsite online, we make sure to look at the campground map (pictures are always best) and see where we are in proximity to those things. We also prefer trees and shade, and a decent amount of space between campsites, so we try to pick a campsite that hits all of our requirements if possible.
2. Invite friends
Camping with friends is always more fun for everyone. Just make sure if you are going with friends, that you get enough campsites to fit everyone. (Most campgrounds have restrictions about how many tents/campers are allowed at each campsite.)
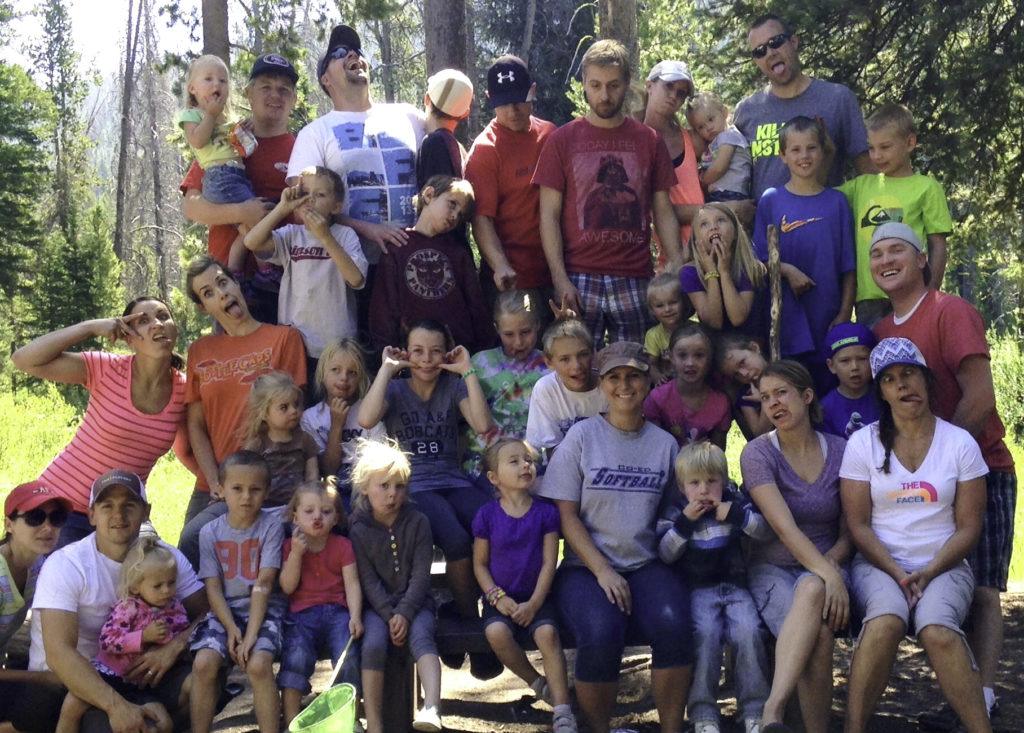
Camping with friends can be crazy fun!
3. Organize gear ahead of time
Get your camping list out a couple weeks before and start gathering and organizing your gear, so you aren’t doing it all the night before. This is a good time to check your stock of certain items (for example: TP, matches, propane, etc) and make sure to pick up those items when you’re at the store.
4. Formulate your menu
Planning meals and getting a list of food items ahead of time saves you a lot of headache in the long run. Write down what you plan to eat for each meal (breakfast, lunch, snacks and dinner. And don’t forget dessert!) and then prepare what you can at home—marinate the meats, cut the vegetables, wrap the potatoes in foil. You’ll be thankful once you get to camp. More on this under Food for a camping trip.
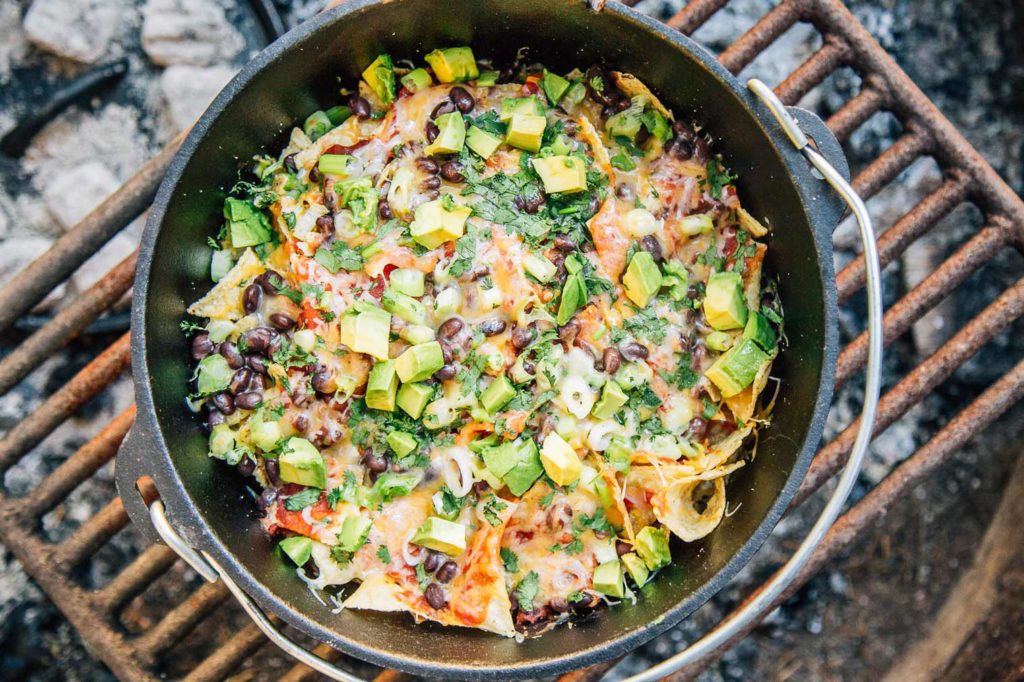
Campfire nachos. Photo courtesy of Fresh Off the Grid.
5. Involve the kids
Kids love camping and being involved in the planning process, so use those minions and delegate some responsibilities. Have the kids gather camping gear, check batteries, re-stock TP, etc. Also, involve them in planning activities, and setting up and taking down camp. Lots of hands make for a light load.
Packing for a camping trip
6. Designate bins just for camping gear
This tip alone has saved me so much time in packing. Basically, we have a few storage bins we keep in the garage that have ALL of our camping gear in. One bin occupies sleeping bags, pillows and mats, one has tents and tarps, and a couple other bins have all the rest of our camping gear. Instead of having to find and retrieve utensils and kitchen items from the kitchen, everything is all in one bin. These industrial wheeled storage bins are our favorite because they pack a lot of stuff, plus they can withstand weight and can be stacked on.
7. Pack the coolers smart
When you pack the cooler(s), set out the foods meal by meal, thinking about how you’ll serve each meal, so you don’t forget condiments. Use a couple of frozen gallons of water to keep everything cold (and to use as drinking water) at the bottom of the coolers (or a block of ice, not ice cubes since those melt faster). Make sure to put items like pre-made camping meals, meat, cheese, milk, etc on the bottom too where it will stay coldest. Condiments next, and then produce on top. We usually bring two coolers like this Coleman wheeled cooler for longer camping trips (not including a 5 gallon water jug), and we designate one for dinner meals and one for breakfast and and lunch foods.
8. Find the best shelter for your needs
What kind of tent do you need? If you have a large family, you will want something that will fit all of you comfortably, and maybe even a tent that has two separate compartments (great for separating kids from parents!). Be aware though that some larger tents can often take longer to put up and take down. This Coleman Sundome tent sleeps 6 comfortably and is super easy to set up. We are big fans of pretty much anything Big Agnes makes, so this Big Agnes Copper Spur tent (sleeps 4) is awesome too, especially if you like to stargaze while laying in your sleeping bag, as it boasts big windows on all four sides and is lighter weight.
Tip on back-country camping with kids: for a lighter load, bring two backpacking tents (for 2 or 3 persons) and have the adults pack them instead of hauling one larger tent. Trust us, your back and shoulders will thank you.
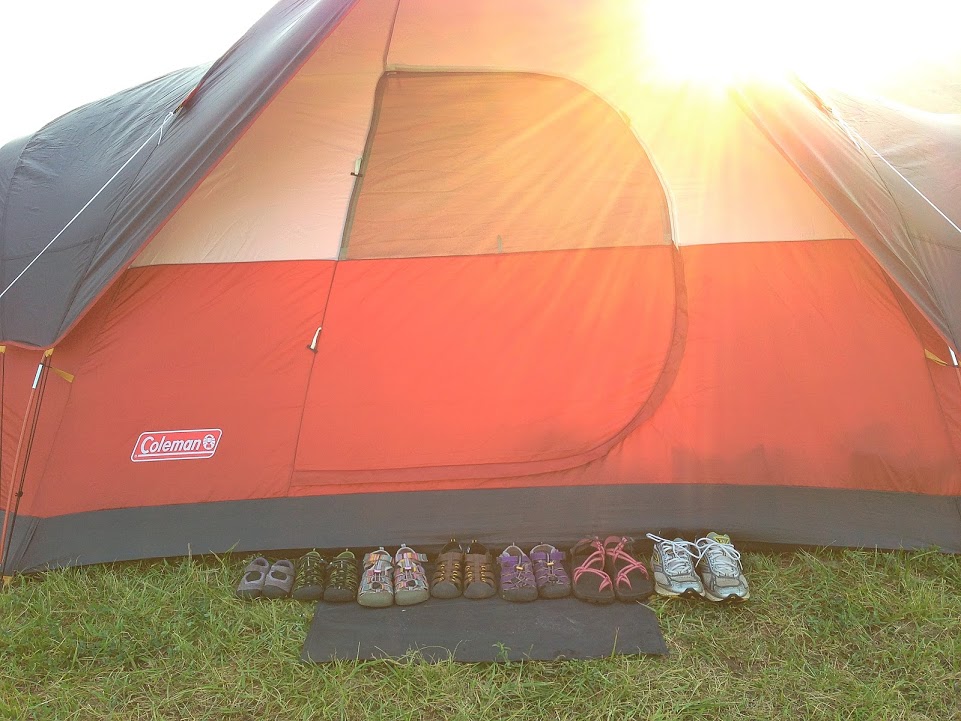
Some other things to consider when choosing a tent: choose something that will fit well on most campsites. Having a double door is nice too. Also, we like having a tent with a large fly, creating a vestibule or entry way where we can store gear, shoes, etc. Less gear in the tent means more movement inside (and hopefully less dirt too)!
9. Figure out your sleep system
After selecting the right shelter, finding the best sleep system is the next most important step in having the right gear to make your camping experience easy, enjoyable and COMFORTABLE. We love this Teton Sports Tracker sleeping bag because it keeps you warm down to 5 degrees Fahrenheit and its a great price point. This double sleeping bag is great if you have small children and want them to sleep with you (or you want to cozy up with your spouse). The Kelty Big Dipper kids sleeping bag is one of our faves for kids because it is warm enough for temperatures down to 30 degrees.
Having the right mat or mattress is crucial too and can make or break your camping sleeping experience. We absolutely love these Big Agnes Air Core sleeping pads because they blow up nicely (almost like an inflatable raft), are insulated, and pack light and compact (great for backpacking too!). For some people, air mattresses are the way to go, because it’s like bringing your bed to your tent. This elevated plush air mattress with an electric pump and this reasonably priced air mattress with ComfortCoil technology can sleep two adults or 3 children comfortably.
And then there are cots, which are great if you want above the ground camping. This Coleman Trailhead sleeping cot is one we’ve had our eyes on and gets great reviews. Lastly, hammock sleeping can be nice if you have the right hammock, a good top blanket, and an insulating pad or mattress. We suggest the ENO Double Nest hammock and ENO hammock mattress, which is also insulating.

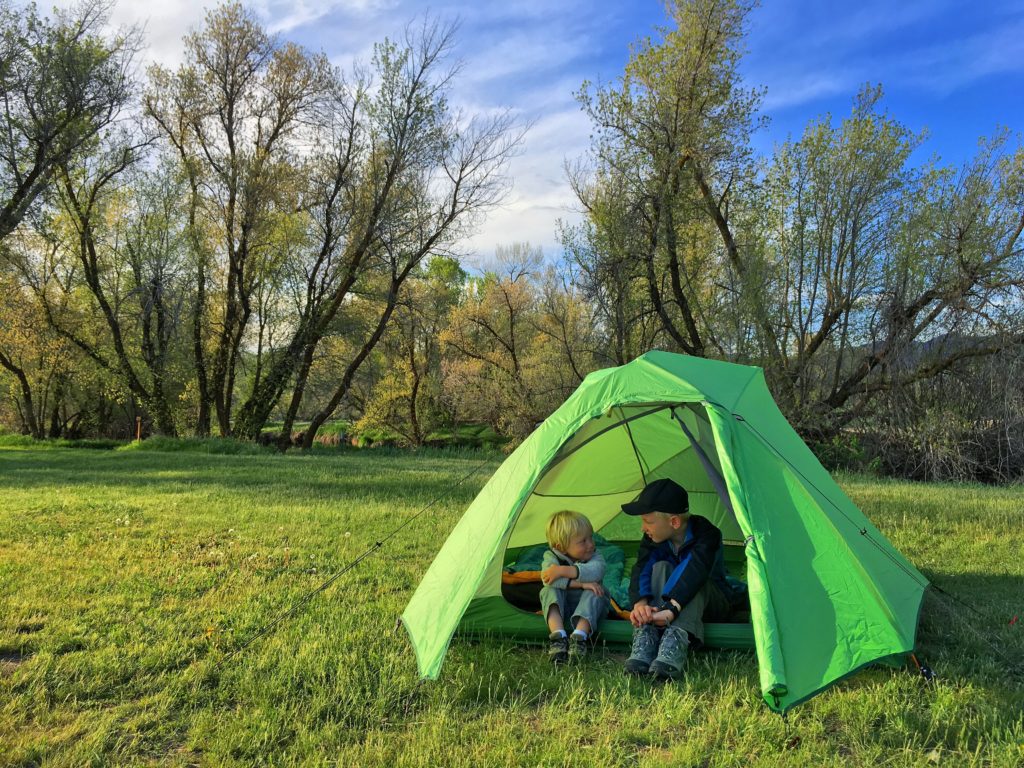
10. Create the perfect campsite setting
We usually prefer situating our tent between trees in the shade (especially in summer), plus if it rains, you can tie up a rain canopy like this Kelty tarp shelter (in addition to your tent fly) to cover your tent and surrounding area. Another great tip is to place a large tarp or old rug under your tent so you have space for putting shoes.
We also love putting up some tent rope lights like this Loominoodle light rope and lantern because they give the tent some nice ambient light and are powered by a battery. And lastly, at the end of your camping trip, do a quick audit of the campground and take notes about what you liked and didn’t like about your campsite, which campsites in the campground to avoid, which campsites might be better, etc. This info will become useful if you revisit this campground again.
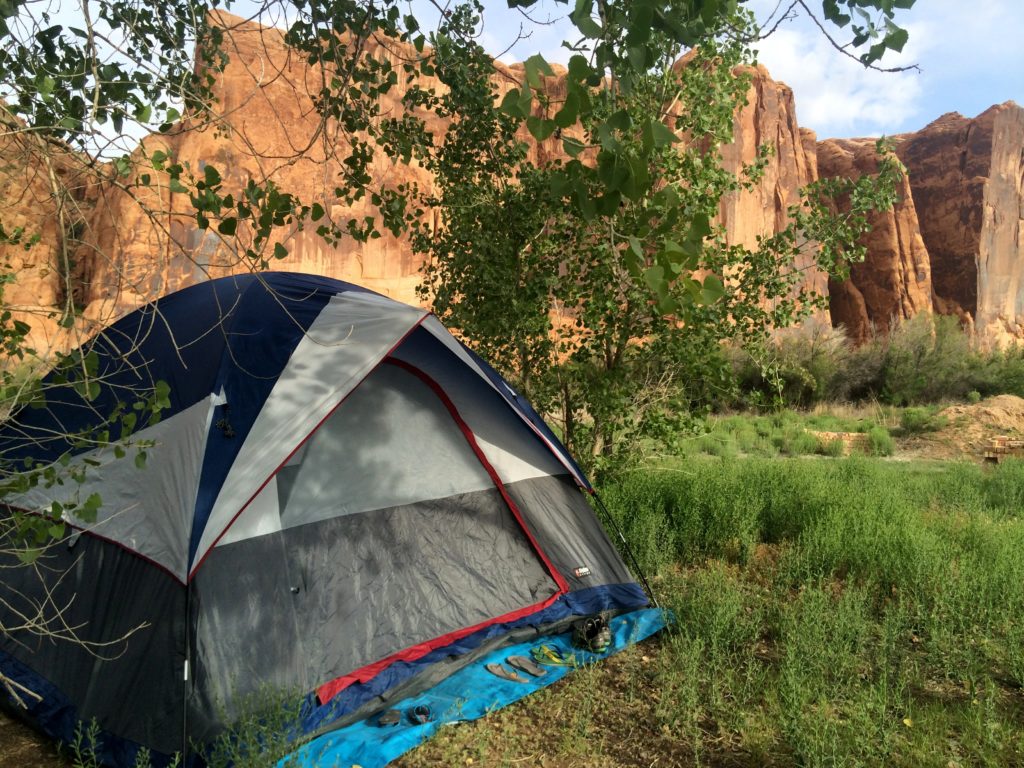
Camping along the river in Moab was the perfect spot to set up camp.
11. Follow our Gear Checklist
You might adapt this list to your needs, but this is our comprehensive packing list to include anything you might need while camping. (Remember, most of these items we keep in bins, so the only real packing we have to do is clothing and food.) Also, if you are going with friends, you can split the list (for certain items) as to lighten your load.
To see where to find the best, most affordable camping gear go to Must-Have camping gear or check out our camping gear page for a comprehensive guide of our top camping gear picks.
Food for a camping trip
12. Plan an awesome camping menu
Camping food doesn’t have to be boring. In fact, some of our favorite meals are the ones we make camping! Utilize shelf stable food options when you can to save on valuable cooler space. Modify recipes to only only use one pot (no one enjoys clean up duty). Also, consider cooking meals that use common ingredients so that you can minimize the number of ingredients that you have to bring. For example, last night’s leftover chili can go on top of your baked potatoes. Know how long each meal needs to cook and plan accordingly. Find some great camping meal recipes online, such as Six Sisters Stuff, or Campfire Recipes, which are recipes adapted and made for campfires. Here are some of our Camping Recipes.
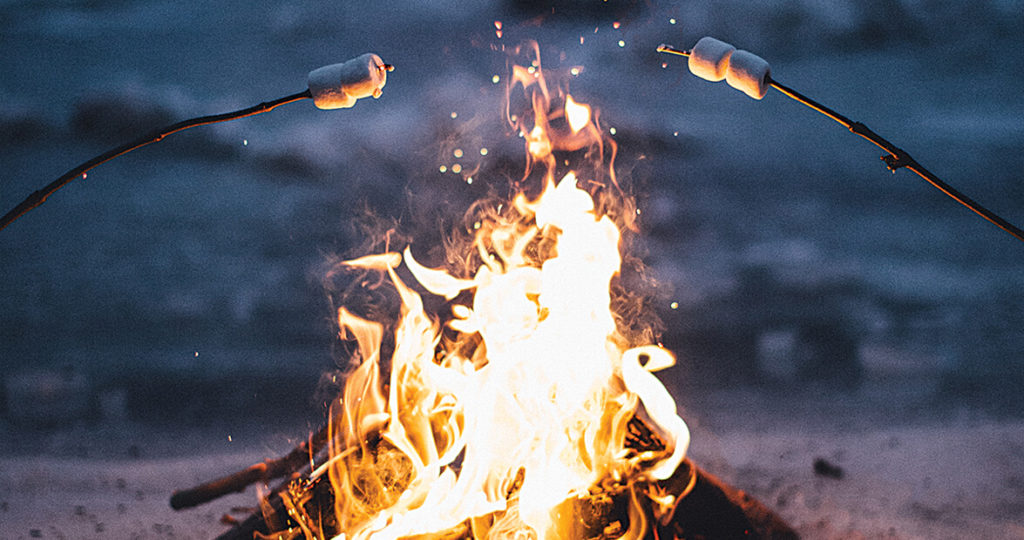
We love doing desserts in the Dutch oven too, such as our favorite Dutch Oven Chocolate-Cherry Cobbler, or Paula Deen’s Dutch Oven Peach Cobbler, and the always classic Dutch Oven Apple Crisp. And of course, there are always s’mores! For our s’mores, we like to get fancy and use different kinds of chocolate such as Ghirardelli, Reese’s Peanut Butter Cups, York Peppermint Patties, and Cadbury Milk Chocolate and Caramel.
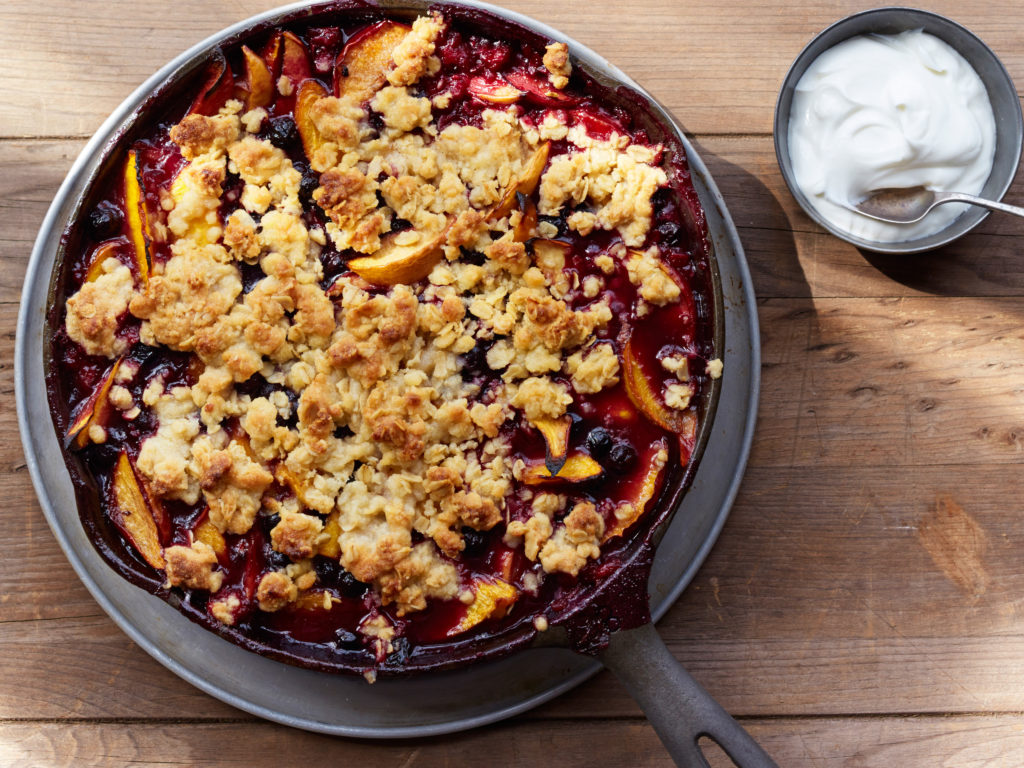
Dutch oven peach berry cobbler. Photo courtesy of Dish Maps.
13. Prep meals at home
This tip always saves my bacon. Because let’s be honest, the last thing we want to do when we’ve been out all day hiking, or playing at the lake is come back to camp and have to make a big meal. The week before a camping trip (even a weekend camping trip), we try to do the food prep at home. For example, for dinners, we will pre-make the tinfoil dinners ahead of time and freeze them. Same with the chili (freeze), chicken or tuna salad for sandwiches, etc.
14. Cook with coals
It’s a good idea to start your fire on one side of the fire pit, and add wood on the other side. This creates the perfect spot for coals to cook on (away from the fire). Once the coals are ready, you can place the dutch oven on the coals (with additional coals on top of the dutch oven).
General Camping Tips
15. Become a pro at starting a fire
Practice and teach fire safety. Some of our go-to, easy fire starters are cotton balls with a bit of petroleum jelly smeared on it (store in ziploc bag), or toilet paper rolls filled with dryer lint or vacuum lint. When you get to camp and have set up your shelter, enlist the kids to go find and gather wood of different sizes (kindling/tinder, small sticks, and bigger logs) and have them separate them into piles of their respective sizes. It’s always smart to take multiple fire starting methods with you on every camping trip since some might work better than others in different weather conditions.
Since fire pits get hot quickly, use some rocks to surround the fire pit, creating some distance between the fire and the kids. Make sure to explain not only the dangers of getting close to the fire with your kids, but also how to start a fire so they know how it works. Most kids will want to “poke” the fire with a stick, so it’s a good idea to establish a rule where only one person can poke the fire (and that person should be an older, responsible child or an adult).
16. Know your burn rate
For one night, about 12 logs (split into sections) will provide enough wood for cooking dinner and for fueling a comfortable fire late into the night. Always have extra wood on hand, for emergencies (such as a wet, cold day), or an unplanned bonus day. Dry, light wood will burn faster than hardwoods so take that into consideration. Camping in colder, alpine climates will burn up wood longer than camping in a warmer climate. Make sure to keep count of your logs and how many use, so you know how long your stack will last you.
17. Keep campsite clean
Having a clean campsite is important for keeping the “clutter” to a minimum (easier said than done with kids), but also important for keeping the critters away. Also, when you are sleeping or gone during the day, make sure your food is stored away in food lockers (most campgrounds have these) or your car (with windows rolled up). Garbage should be hung high on a tree, tucked away in a locker, or thrown in the dumpster. Do not store food in your tent, repeat, do not store food in your tent!
18. Make clean-up easy
We are all about making the clean-up easy while we camp. Use a designated storage bin or a cheap wash bin for all your plates, pots, utensils, etc that need to be washed each day. And then when it comes time for clean-up duty, have the kids help! Make it a game with a prize (such as an extra s’more). Also, give the kids the task of finding any debris or garbage at the campsite that doesn’t belong.
DIY Camping Ideas and Games
19. Try these DIY ideas for more budget-friendly camping essentials
You don’t have to have the fanciest camping gear to have a great camping experience. For example, you can create an easy, cheap portable hand-washing station with just a 5 gallon jug of water (with spigot), a bucket, a roll of paper towels (with a holder), foaming soap and bungee cords.
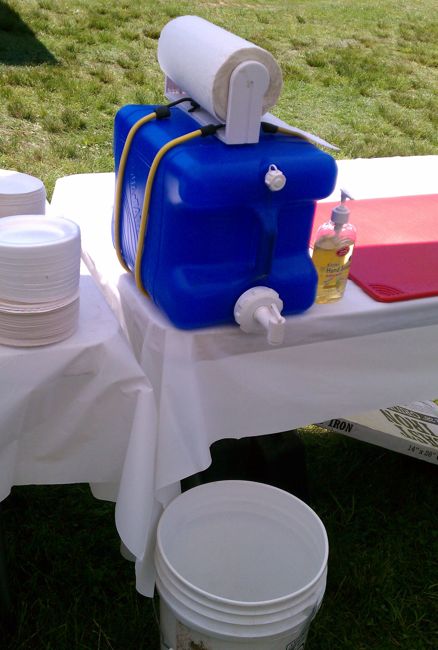
Easy DIY hand washing station. Photo courtesy of Pinterest.
Inside your tent, you can use those foam floor tiles on the ground under your mats and sleeping bags, for a more comfortable ground (especially for toddlers to crawl on).
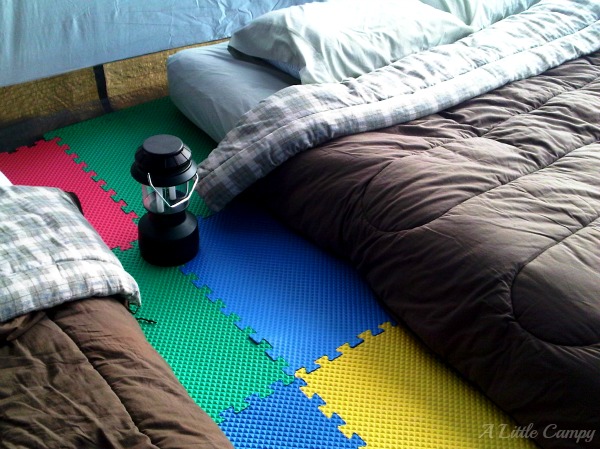
Foam floor tiles. Photo courtesy of A Little Campy.
For an awesome makeshift lantern, all you need is a 1 gallon jug of water and a headlight!
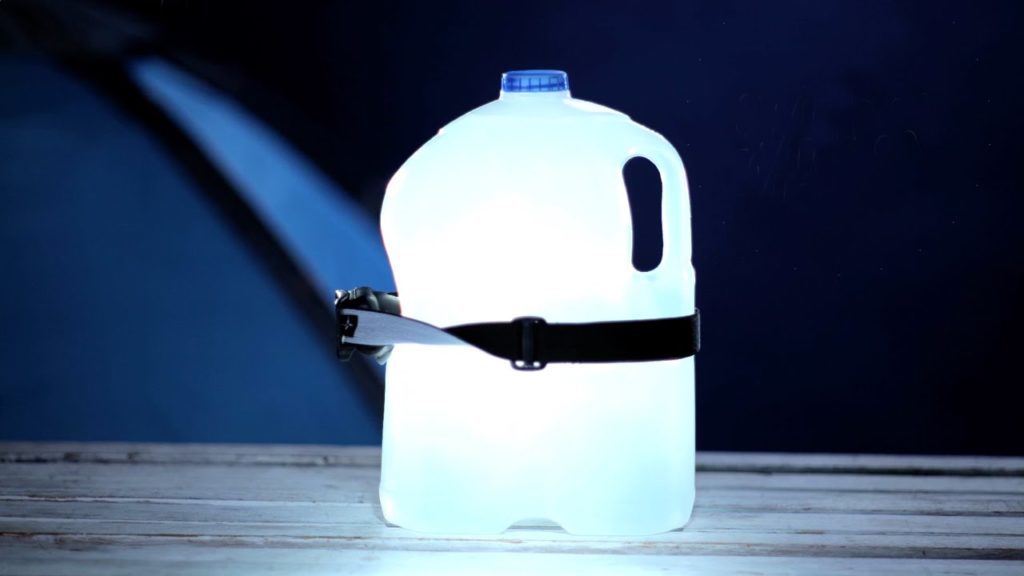
DIY camping lantern. Photo courtesy of Pinterest.
Check out some more awesome DIY ideas for camping.
20. Bring a few non-essential items for the kids
Normally, we keep the non-essentials to a minimum since we are big believers in letting the kids use nature as their playground when we camp (sticks, rocks, etc). However, with that being said, occasionally we love bringing a few “extras” on our camping trips.
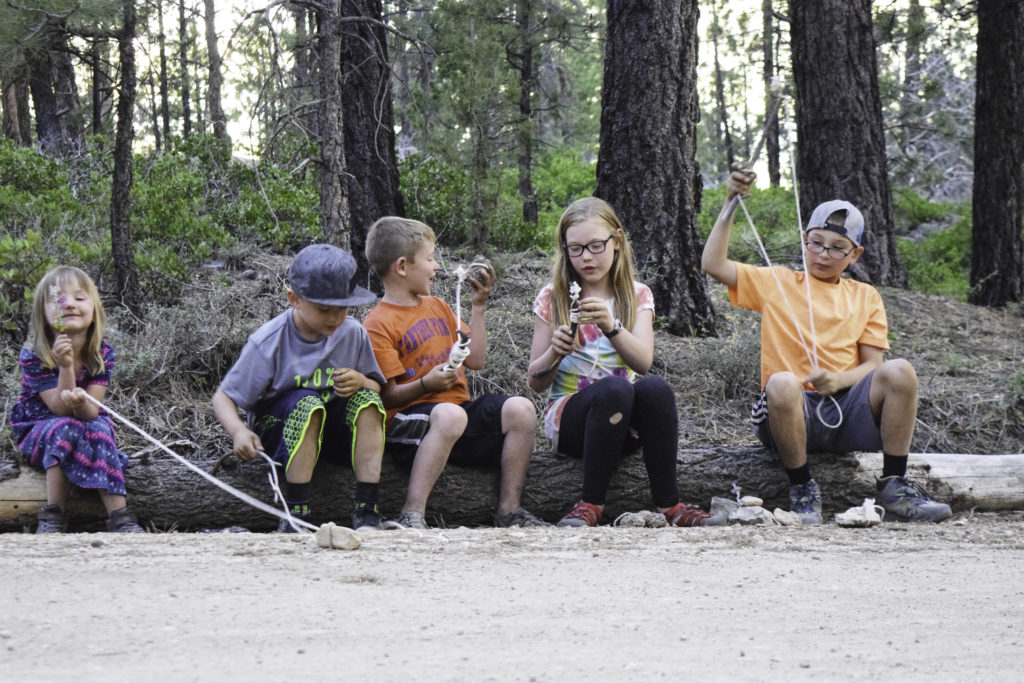
Going “rock” fishing
Slackline: This is a crowd favorite (for kids and adults!) and it’s easy to set up. All you need is two trees at least 30 feet apart. Slacklining is becoming one of our favorite outdoor pastimes because it is so fun and addictive! We love a good challenge too, and the slackline delivers! When you are learning, it’s a good idea to tie up the slackline fairly low to the ground, so when you fall off, you don’t go far. But also make sure to get a slackline that has a training line. The training line helps you keep your balance as you are learning to slackline and as you progress, you don’t need the training line anymore. We also suggest slacklining barefoot and starting out in the center of the slackline first (opposed to the end).
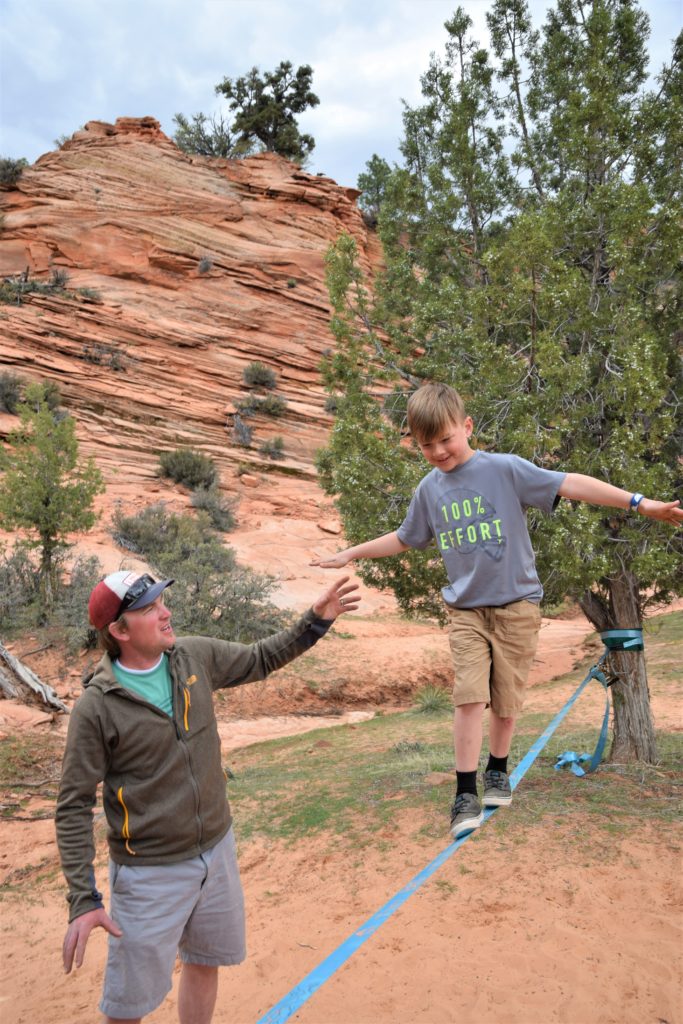
Slacklining is so much fun!
Cornhole Toss: Another crowd favorite and one of our favorite games to play while we are waiting for our dinner to cook at our campsite. We like this portable cornhole set because it makes for packing and storage. So fun! Here are some instructions on how to play cornhole.
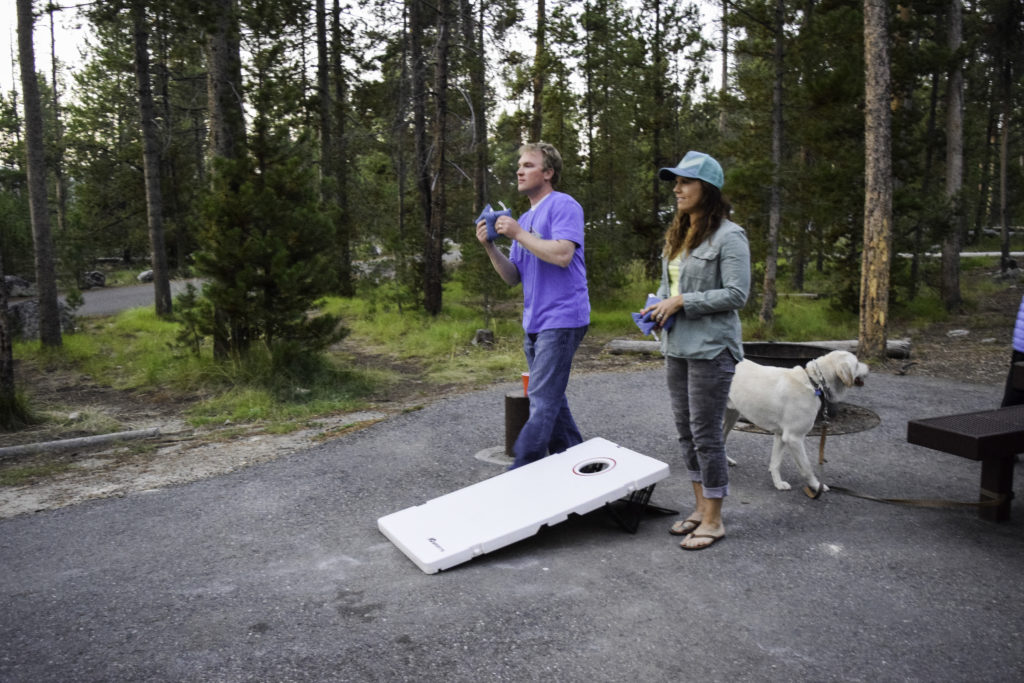
Playing a little cornhole while camping.
Glow Sticks: We love to go the dollar store (or you can buy a huge pack of assorted glow sticks on Amazon for cheap!) and use them for all sorts of things while we camp. Our favorite use for them is for glow-stick dance parties. All you need is a bunch of glow sticks of all different colors and tape! Just wait until dark and turn some music on!
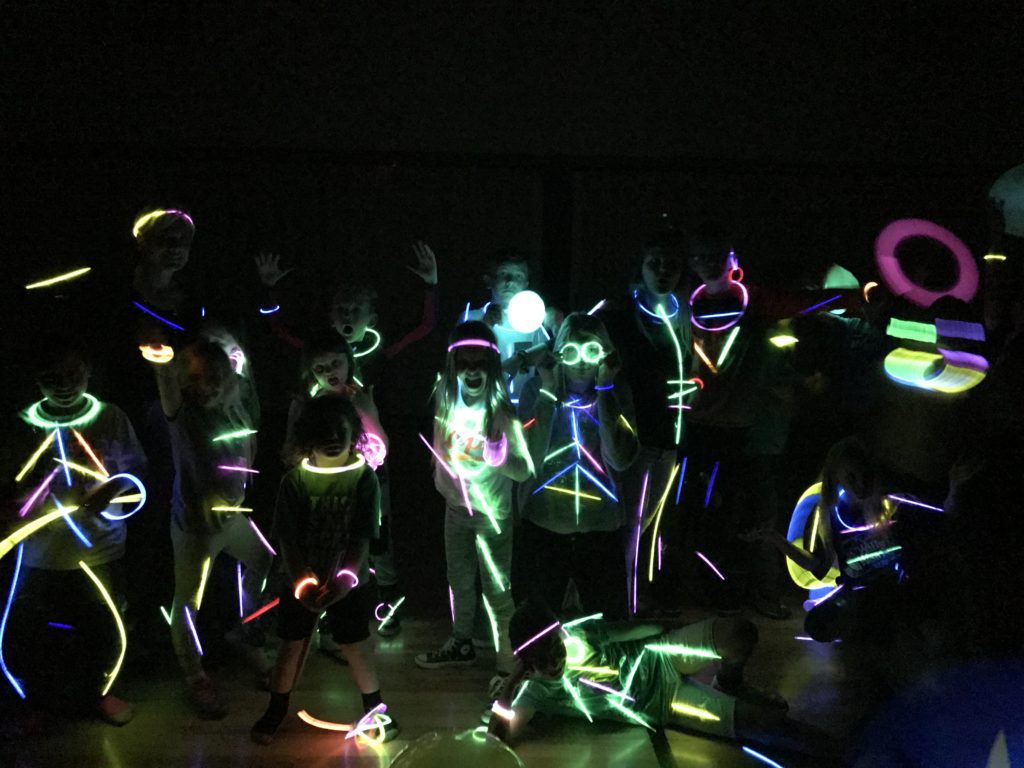
Glow stick dance party
You can use glow sticks for homemade lanterns in jars, or you can even use them for a glow-in-the-dark dinner!
Another fun way to use glow sticks is to break them open (adults should do this) and pour them into bubbles for glow-in-the-dark bubbles!
And lastly, you can use glow sticks for some neat night photography. To achieve the photo below, you need a good DSLR camera and a sturdy tripod set on a long exposure (settings should be f4.0, shutter speed 5 sec, ISO 200 or 400), and then just have each person stand still and while holding a glow stick trace a letter (of the word you want to spell) backwards over and over again for 5 sec (exposure time). Super easy and photos look so cool!
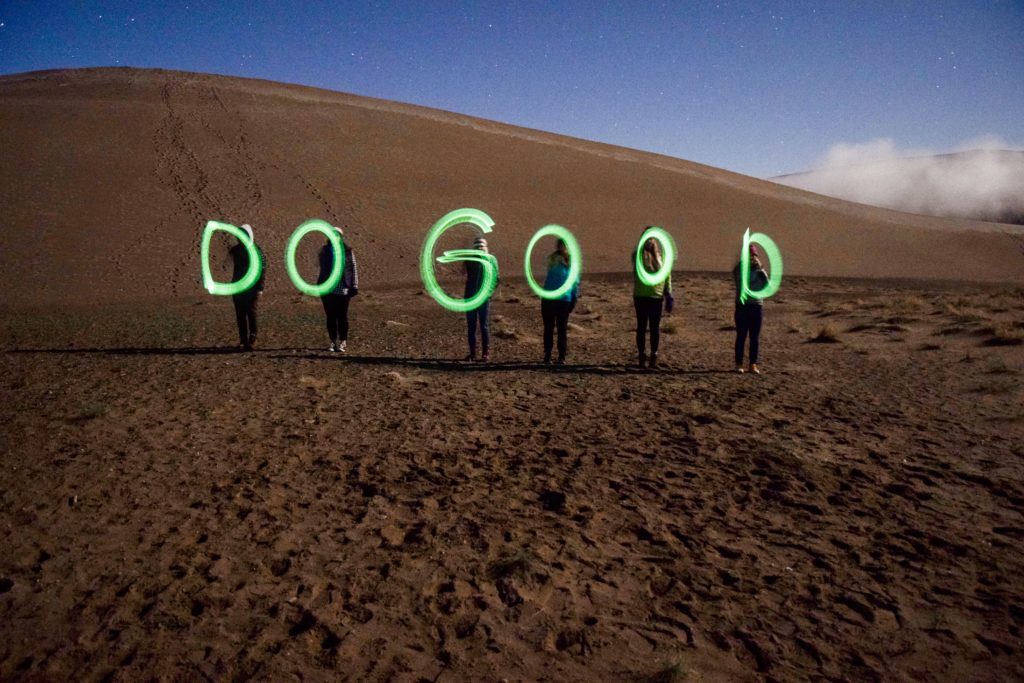
Glow stick night photography